The world of electricity right at their fingertips!
Watch and learn with your child as they discover how electricity works through a series of fun and educational projects using our Circuit Scribe products. Coach your child through the project by using the provided tutorials instructions and soon they will be on their way to learning the basics of electricity!
Create a Color Blender Circuit
Step One

RGB LEDs
https://edu.workbencheducation.com/cwists/preview/24369x
By bundling a Red, Green and Blue LED together you can create any color of light in the visible spectrum. Your computer screen uses RGB lights like this to create all the images that you see. The picture above is an extreme closeup view of a screen - it’s just a bunch of Red, Green and Blue dots!
In this project, we are going to explore how RGB light is mixed to create any color of the rainbow.
Note: mixing red, green, and blue light sources is called "additive color mixing."
Step Two
Multicolor LED
Our Multicolor LED module has the three colors that we need! Each color has its own foot on the wide end of the module (labeled red, green, and blue). The foot on the pointed end is shared by all three lights.
Take a look at the Color Mixer tutorial to get a sense of how the Multicolor LED works.

Step Three

Visible Light
Light travels through space like a wave. Think of ripples that form in a pond when you toss in a stone: you can see high and low peaks that travel outwards. Light travels in a similar way to these water waves, but the ripple occurs in an electromagnetic field.
So what makes red, green, and blue different from each other? The difference is the distance between high peaks in the wave, or the wavelength.
The rainbow in the image above shows the entire spectrum of visible light. Each color has its own wavelength. On one end of the spectrum, red has a long wavelength (about 700 nanometers). On the other end, blue has a low wavelength (about 400 nm). Green light falls in the middle.
Which color has the shortest wavelength?
Green, Blue, Yellow, or Red
Step Four
Primary Colors
Red, green, and blue are called primary colors of light.
Just like our Multicolor LED is made out of red, green, and blue light, your eyes have 3 special types of cells (called cone cells) that tell your brain if you are looking at red, green, or blue. See if you can find these three colors on the color wheel above.
Go back to the circuit simulator and flip one switch at a time to see the primary colors.

Step Five

Secondary Colors
If your computer screen only displayed red, green, and blue then pictures and videos would not be very realistic. The rest of the colors in the spectrum (yellow, cyan and magenta) are secondary colors of light because your eyes add two colors together in order to see them.
For example, when you see cyan (a shade of turquoise) it activates your green and blue cells at the same time -- your brain combines the signals and you see cyan.
The brain can understand cyan two ways:
One way is by seeing the unique wavelength for cyan that can be found in the color spectrum.
The second way is by shining both green and blue light towards your eyes at the same time. This is what your computer screen does.
Find the secondary colors on the color wheel and notice how they are between the primary colors that make them. Go back to the simulator and try operating the green and blue switches at the same time to see what happens.
Step Six
Color Equations
An easy way to understand color mixing is with color equations. For example, we learned:
Green + Blue = Cyan.
The color wheel reveals another equation:
Blue + Red = Magenta.
Can you find the last color equation using the color wheel, the circuit simulator, or both?
What is Red + Green?
Red + Green = Yellow
Red + Green = Magenta
Red + Green = Blue
Step Seven

White Light
Finally, let's consider what happens when you mix red, green, and blue together at the same time. You get what we call white light!
Try it in the circuit simulator by turning on all three switches at the same time.
You have definitely see white light before. The sun is our main source of white light that sends all the colors of the rainbow to Earth. The sun does this by combining many frequencies of visible light together.
Step Eight
Create your Own Color Spectrum
Now that you have learned about additive color mixing, you can make your own color spectrum on paper using paper push buttons and the Multicolor LED module!
Use an 8.5 x 11 sheet of printer paper or card stock for this project
Begin by folding down the top 1.5 inches of the paper to start creating a slider.

Step Nine

Secondary Colors
In the next few steps, you'll use Circuit Scribe and the Circuit Stencil to draw a circuit pattern in silver ink. The part that you need to work on in each step is highlighted in magenta.
Use the stencil to draw four pads for the Multicolor LED module in the center of the paper, and two pads below it for the 9V battery.
Connect one battery pad to the bottom Multicolor LED pad, as shown. This is the “ground connection” that all three LEDs share.
Which primary colors would your computer screen combine to create the magenta image?
Red and Green
Red and Blue
Cyan and Yellow
Step Ten
Color Spectrum Circuit
The shapes that you draw will be used to operate one color at a time when you press down in the center of the shape -- or two colors at a time when you press on the angled gap between them.
On the bottom portion of the slider (below the fold), draw the polygon pattern shown and fill them in. Make about a 45 degree angle between shapes.
Now connect the polygons to the top pads of the Multicolor LED. The first one maps to red. The second maps to green. The third maps to blue.
Tip: you can fill the shapes in with a cross-hatch pattern. They don’t need to be filled in solid.

Step Eleven

Color spectrum circuit
The fourth shape - a smaller triangle - also maps to red! Draw and fill this in, then draw a line connecting it to the first polygon.
Tip: You'll need this last part to produce the color magenta. When you press your finger on this part of the slider, blue and red lights will come on together.
Step Twelve
Color Spectrum Circuit
The top portion of the slider will fold down to meet the polygon shapes and complete the circuit.
On the top half of the slider (above the fold), draw a continuous rectangle and fill it in.
Finally, draw a long line that connects the top of the slider (long rectangle) to the power (+) foot of the battery.

Step Thirteen

See the spectrum!
Now you're ready to add the modules. Fold over the top of the slider and move your finger across it to activate the whole spectrum of colors. Glue a strip of white paper to the slider and decorate it with colored pencils to help you remember what you learned:
Find and label the primary colors on the slider. Can you do draw something to represent their wavelengths?
Move your finger across the slider to see the whole spectrum. Label the secondary colors.
Finally, press the entire slider down to produce white light.
Step Fourteen
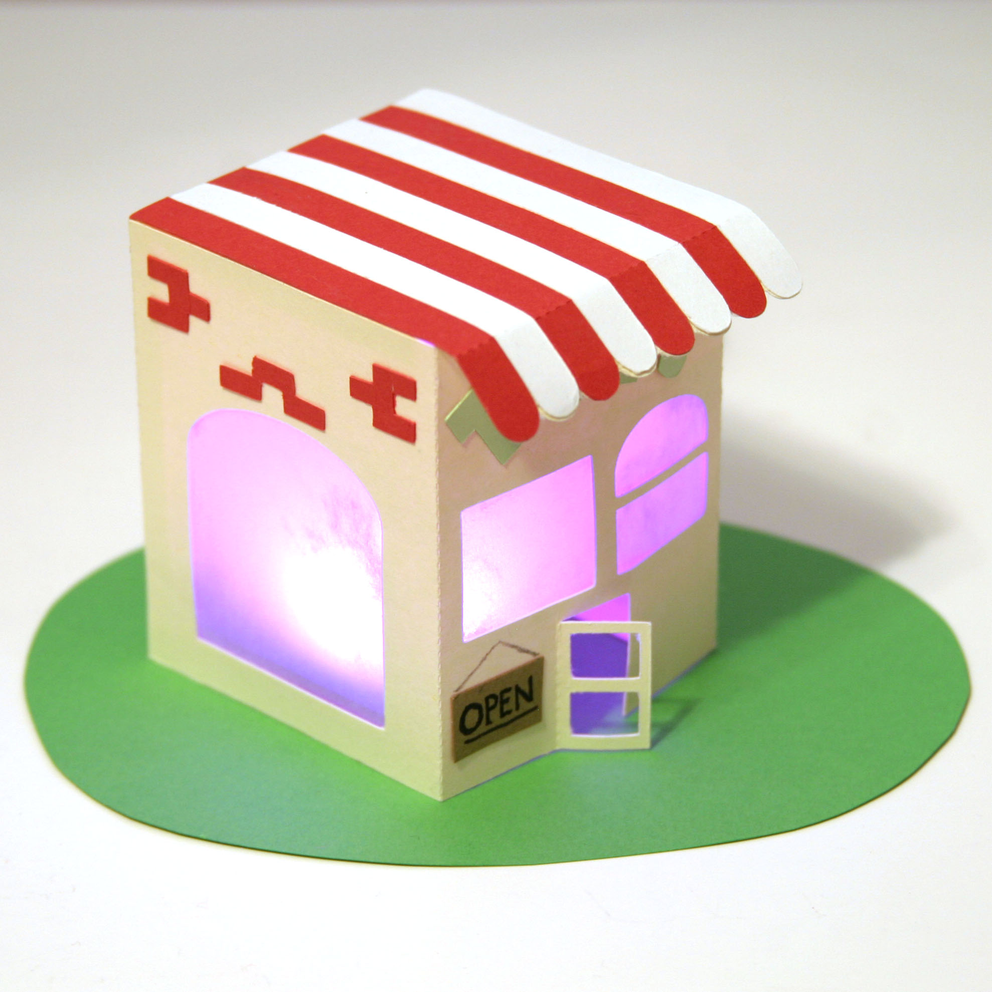
Glowing House
As a final step, create a house-shaped lantern for your Multicolor LED module. Design your own or use the template attached. When you change the color of the Multicolor LED module using the slider, the house will light up with different colored light.
Tip: use vellum or parchment paper to create windows that glow like stained glass. These are called light diffusers.
